
If you are a mountain biker, you are also a natural-born tinkerer. No matter what the job, you enjoy working with your hands, taking things apart and putting… or trying to put, things back together. Let’s dive right into this trail tip, the DIY Mountain Bike Fender.
While we are at home and hanging out, here is an easy, affordable project for your bike that saves your front fork and your eyes from mud and anything else the trail can throw your way.
What you need:
- Thin and Flexible Plastic Sheet
- Tape
- Scissors
- 4 Zip Ties
- Printer
- Stickers (optional)
- Electrical Tape (optional)
Step 1: Find Your Material
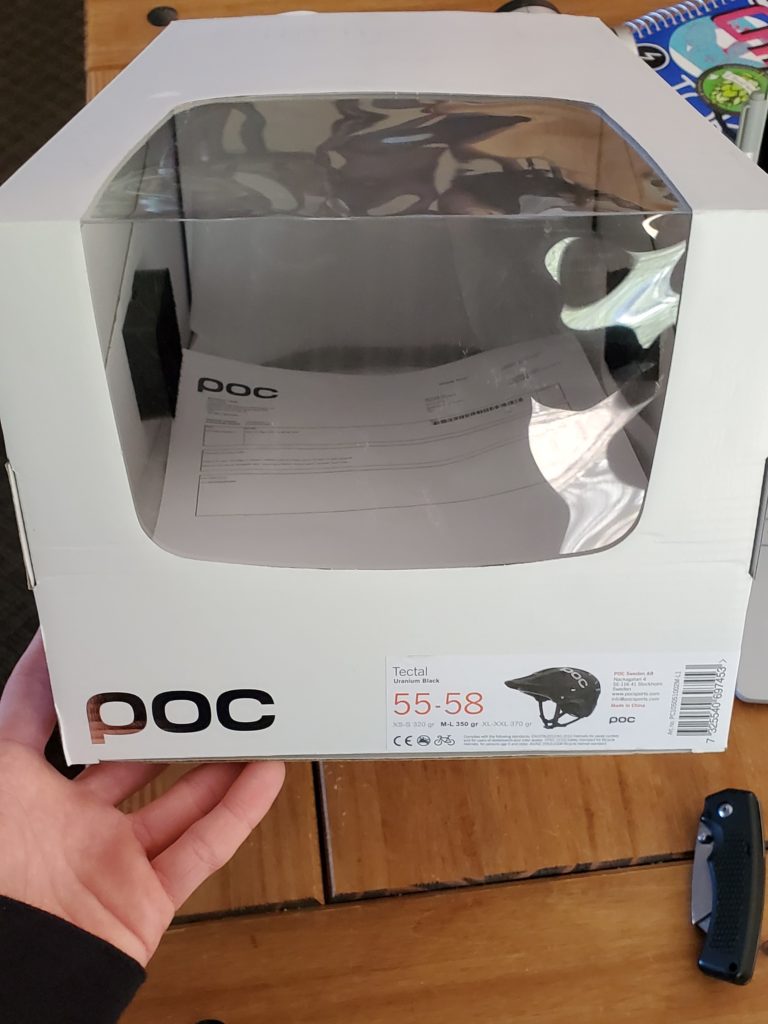
To make your fender, you want a thin, flexible plastic. Think the material for school folders, or in my case, I repurposed the sheet of plastic used to display my new bike helmet while it is in the box. Walk around the house and see what you have, and I bet you can find something to repurpose.
The material needs to be about the size of a piece of computer paper, and remember we are going for functionality right now, looks will come later.
Step 2: Download a Bike Fender template
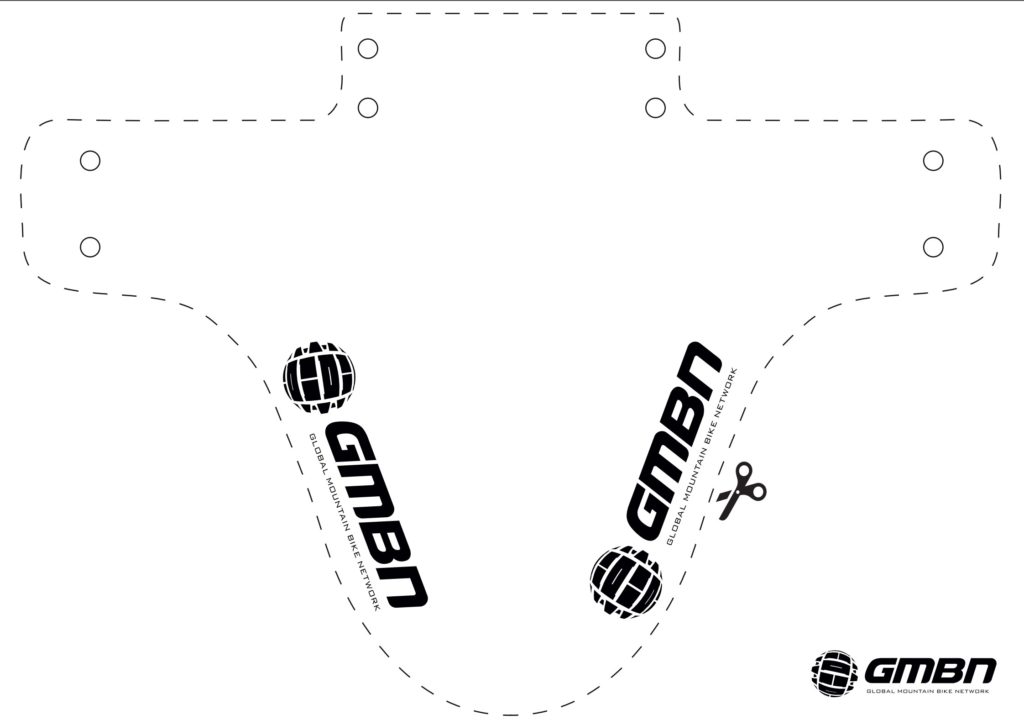
While many different templates exist out on the internet, I decided to keep it simple and go with this one supplied by Global Mountain Bike Network.
The template can be found HERE. You are going to want to print this out on standard 8.5″ x 11″ computer paper. If you don’t have a printer and are feeling extra creative, try to trace your screen or freehand the stencil. Keep in mind it should fit on a piece of computer paper.
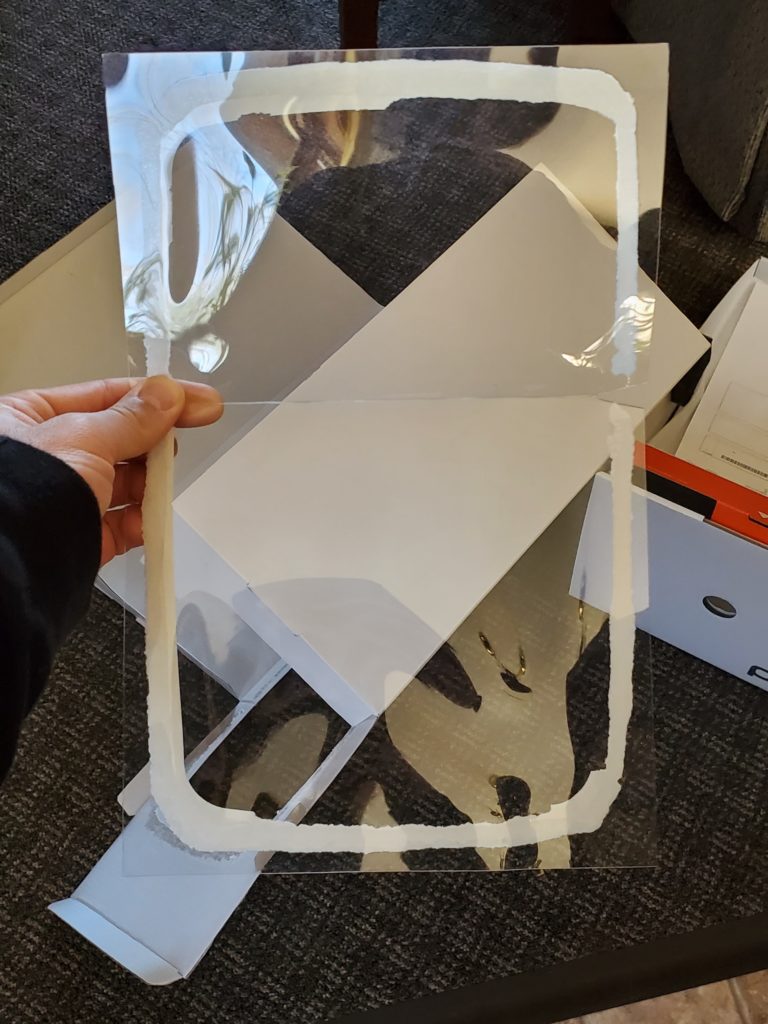
Step 3: Combine your template and your fender material
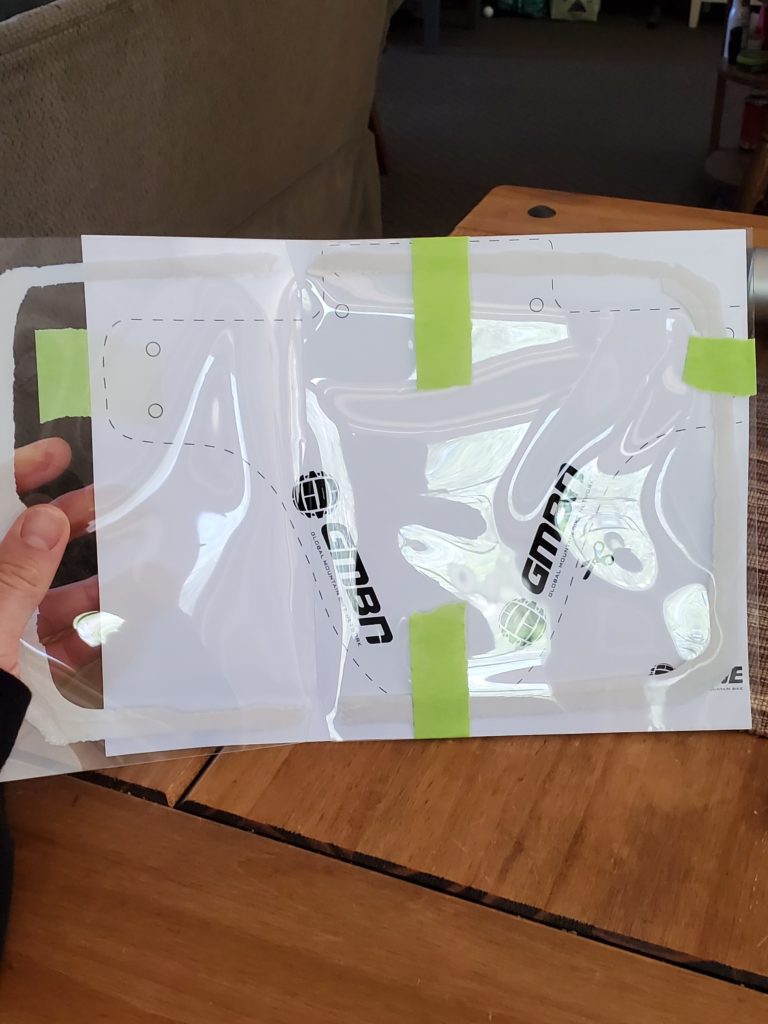
I used some painter’s tape to attach the template under the fender material, any type of tape works, I just like how easy it is to remove painter’s tape when all is said and done. Your cuts need to be accurate, but not 100% precise, so don’t sweat it too hard, let the kids get a go at the cuts.
You DO want to keep the template aligned to punch the mounting holes out after. If you feel more confident in punching out the holes first, skip to the next step, then come back to cut it out after. This order will not change your end result.
Step 4: Make your bike fender mounting holes
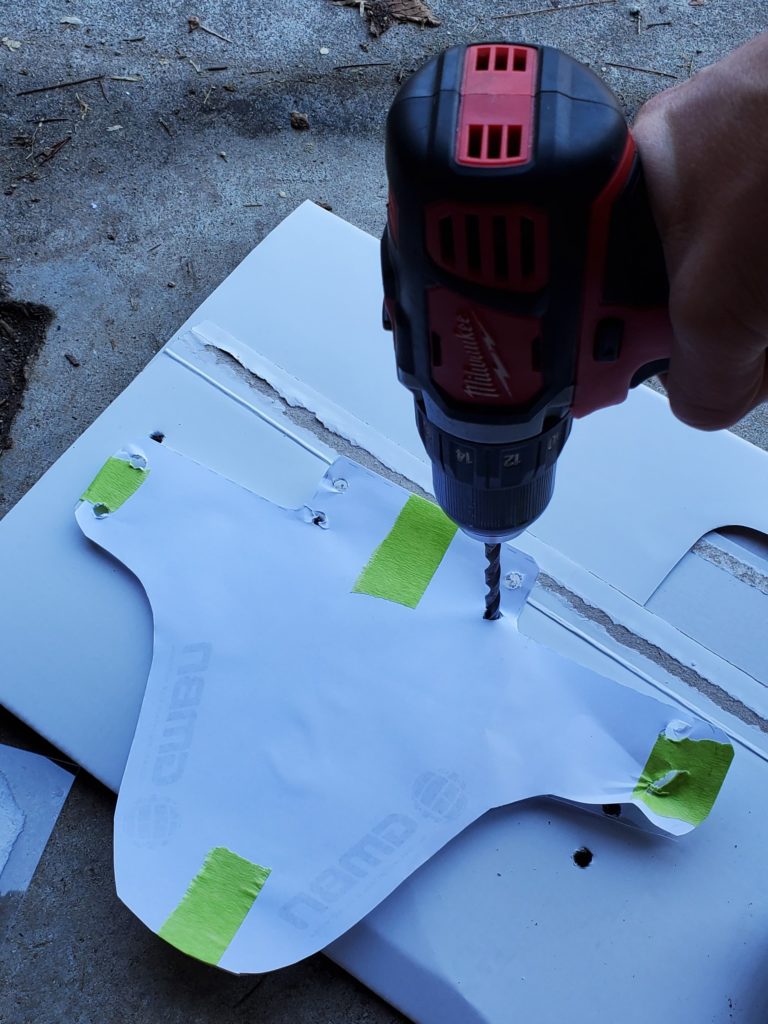
With your template still attached, you are going to have to make the holes to mount your fender. A binder/paper hole punch will work best, depending on the material, but what would a project be without some POWER TOOLS! Adult supervision is required if choosing option two!
To protect the garage floor, and your hands, I drilled into the remains of my helmet box. Light pressure is key here. You want to puncture it, not rip it.
Step 5: Style it out
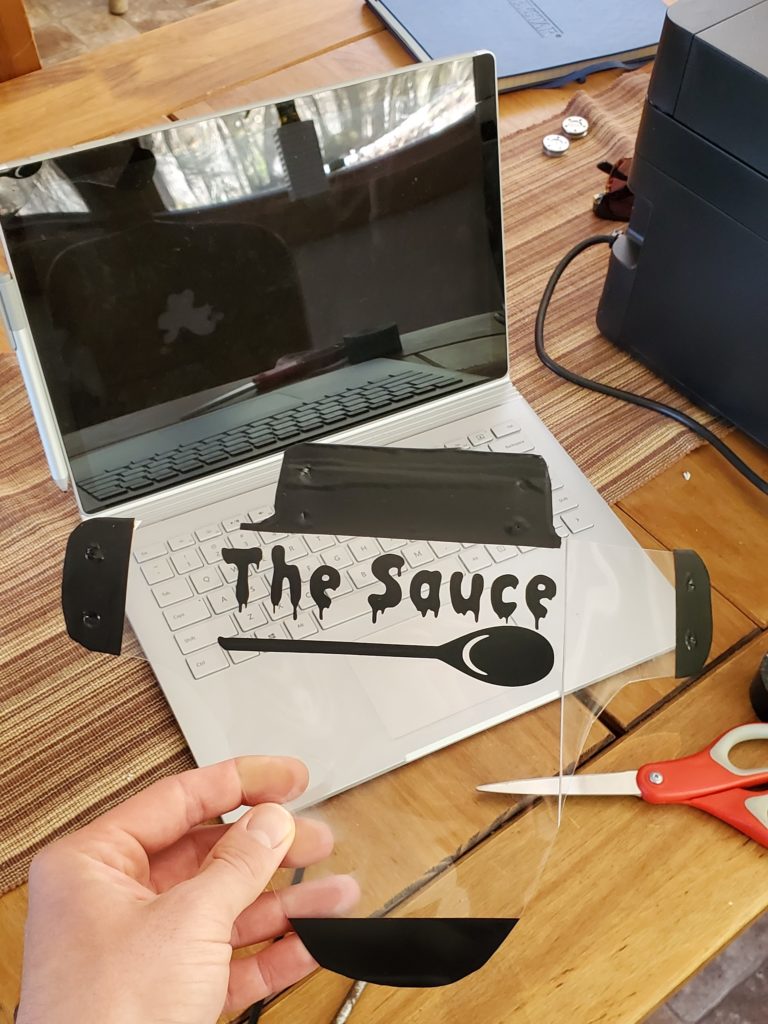
Everyone knows it’s about how good you look, not how good you are, right…? This is your time to shine, stickers work well to dress up any fender. Make an entire collage, or just keep it simple, it’s all up to you now.
Although it is not necessary, I used electrical tape to reinforce my mounting holes, cover some of the exposed edges, and add a few style points. Just be sure to puncture the holes again with a scissor or your hole punch to get the zip ties through.
Step 6: Zip ties and Mounting
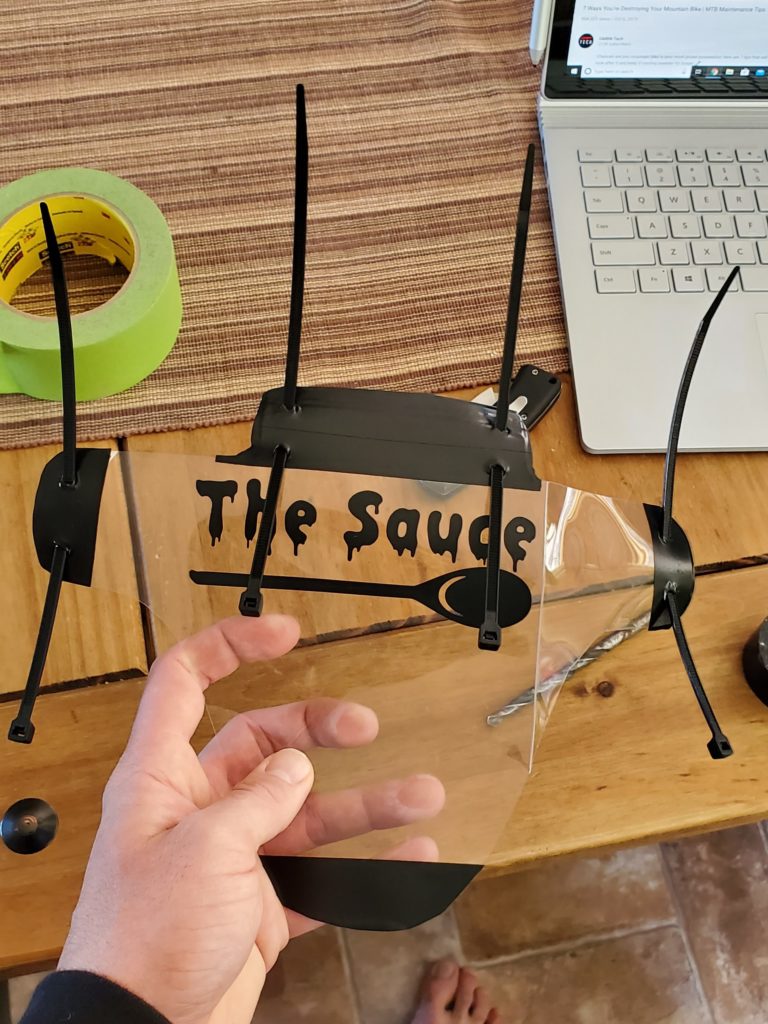
Believe it or not, even most store-bought front fenders simply zip tie on to your bike. Zip ties are easy, if you want to take the fender off for travel, cleaning, more stickers, etc, simply snip them off and use new ones to remount when finished.
Zip ties can be one of the most useful tools for a mountain bike, so you want to have these on hand at all times. Make sure to carry a few in your saddlebag or backpack for quick fixes to get you home.
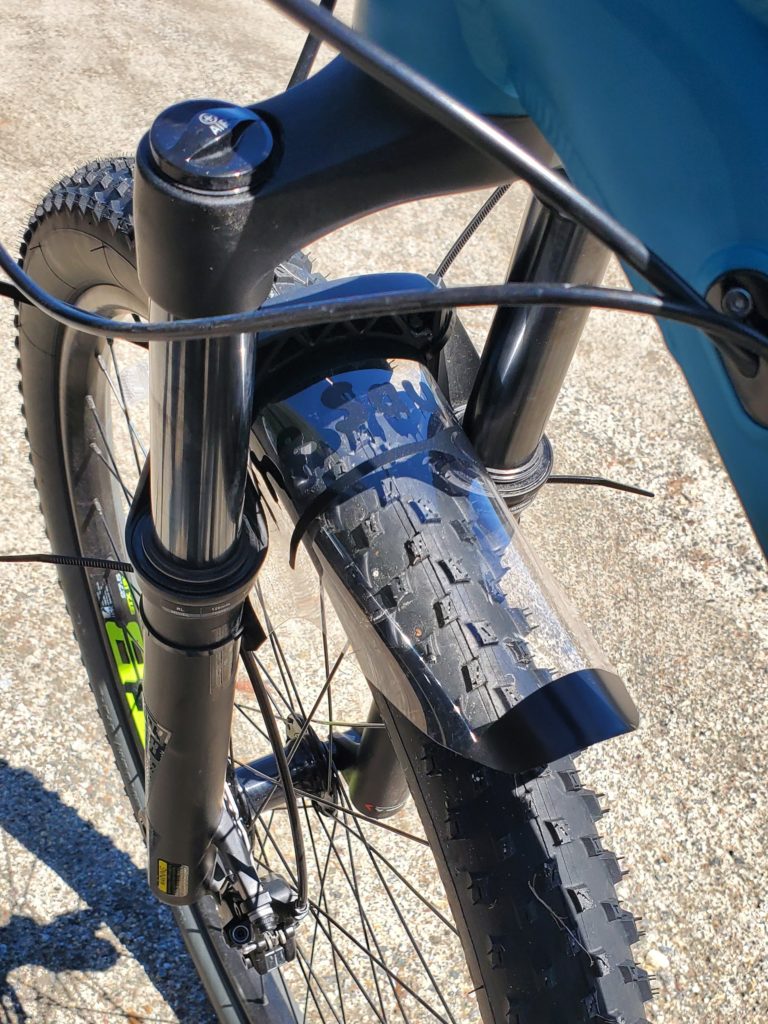
Notice how the zip ties are weaved for mounting, you want the plastic from your fender touching the bike at all mounting points. Take the fender out to your bike and mount it to the front fork. Snip off the extra zip tie length with wire cutters, nail clippers, or your scissors.
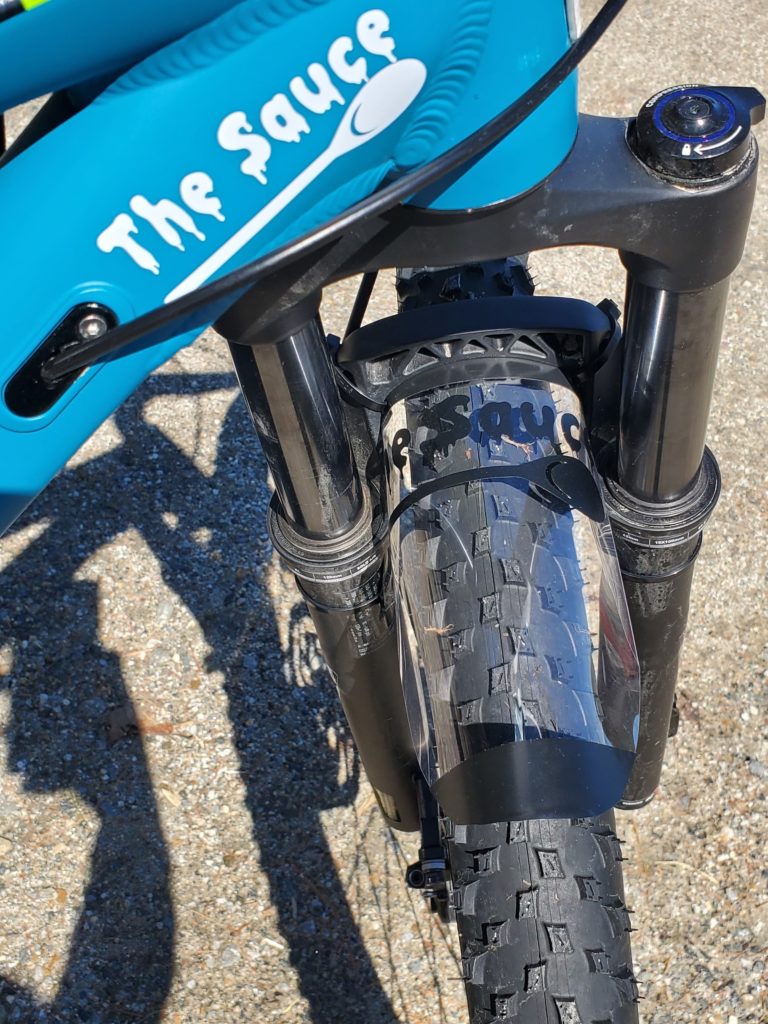
And just like that, you have a new front fender for the cost of 4 zip ties and some tape. Check that out! Its time to go find some mud and test it out!
Happy Trails!