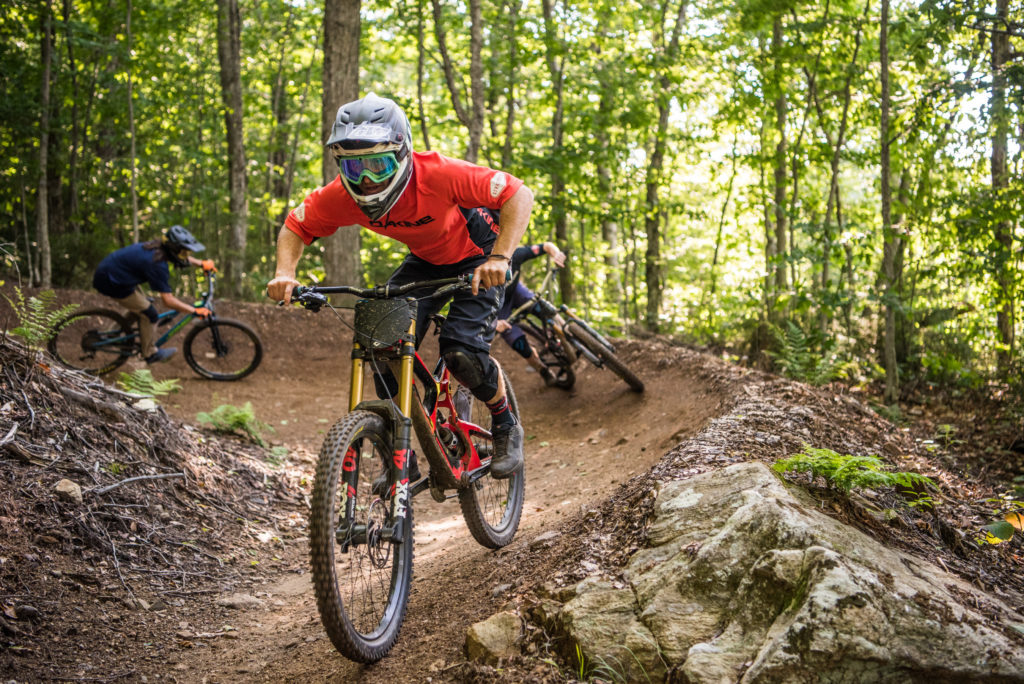
Choose the Correct Camera Mount
When trying to film with a GoPro, the biggest key to success is choosing the right mount for your camera. When you’re capturing skiing or snowboarding, you may want a helmet mount, a long extension pole to fit in your backpack, or a short extension pole to fit in your pocket. When out on the trails mountain biking, it’s the chest mount, helmet mount, or bar mount for the creative angle. Selfies from the lift? How about a medium size extension pole that also doubles as a tripod for the group shot later on. Think about the shot and angle you want, the gear you wear and choose your mount from there.
Select Your Settings
Use the setting that is going to benefit from the most. When filming on the mountain on the new GoPro HERO 10, a common setting we use is 2.7K at 240 frames per second. This allows for a great blend of quality and editability. 2.7K is a high-quality video but a more manageable file size than 4K. The high frame rate allows for better slow-motion editing and for a better chance to grab a great screenshot from your video, and post it as a photo to show your friends the day you just had. Use different zooms too, depending on how close your subject is, try SuperView or Narrow views, this works as the camera’s “zoom” options.
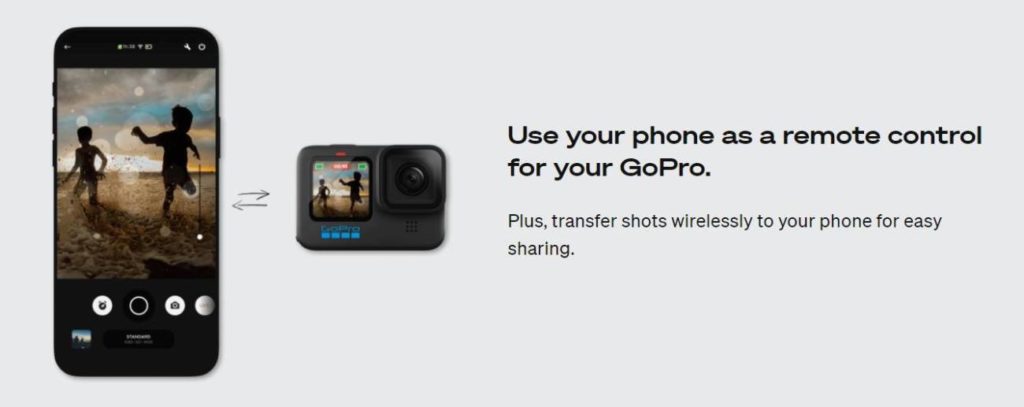
Download the GoPro App
The GoPro “Quik” App is the ultimate integration for your camera to your phone. The Quik App connects your phone to the camera via a Wi-Fi signal broadcasted from the camera (so it works anywhere) to allow you to use your smartphone as a remote. The App allows you to download your photos and videos to your phone right from the gondola or on the drive home from the mountain, and the App has editing software to allow you to make edits, select video frames to save as a photo, add music to your clips, and so much more.
Try Shooting Vertical and Horizontal
When filming with your GoPro it is important to think about your end product. Are you filming for Instagram or YouTube? While YouTube videos are always shot in landscape, some Instagram posts look best in portrait, as it maximizes the available space on a vertical phone screen. The GoPro shoots terrific portrait media, as it does landscape. As long as the orientation lock is turned off, the camera screen will rotate automatically before you hit the record button to try to get the best shot for your end product.

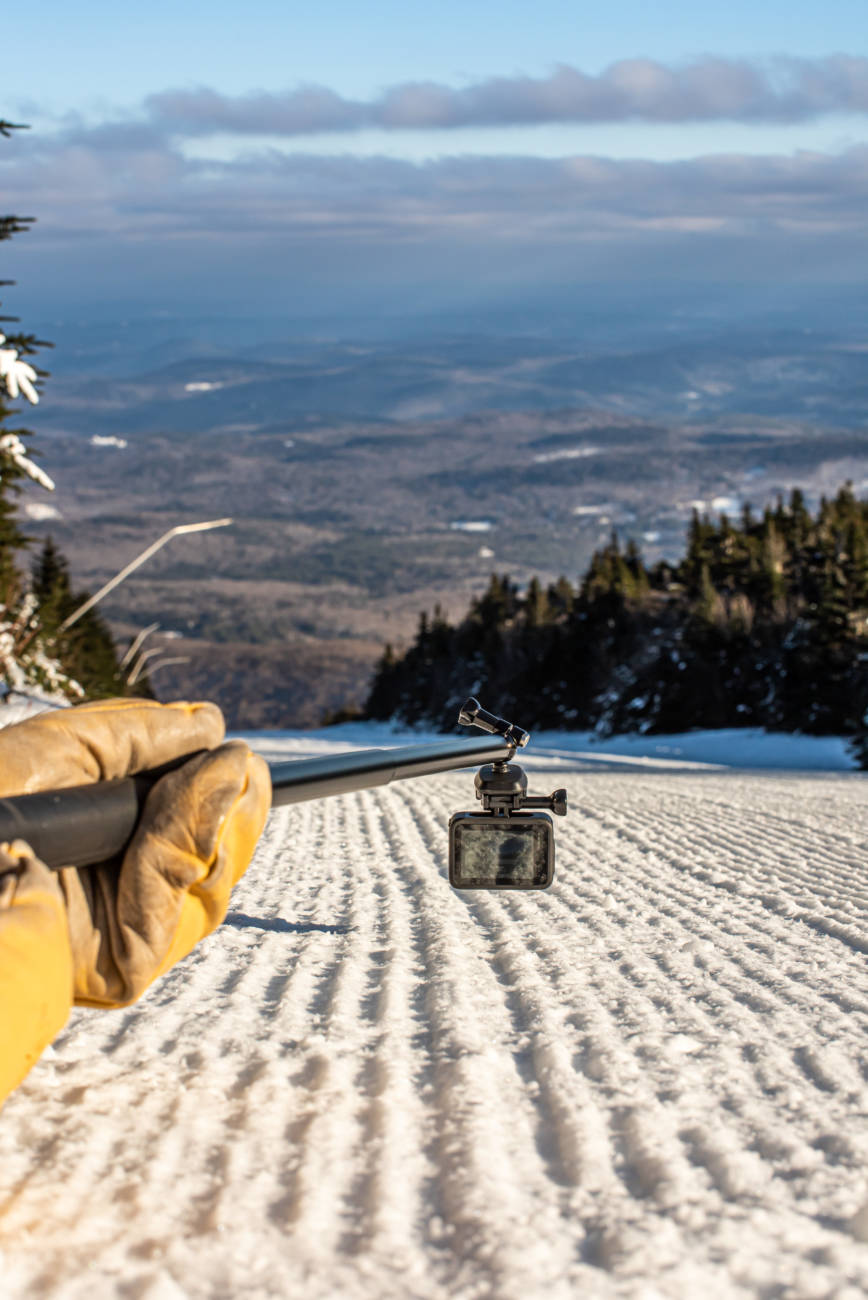
Film With The Camera Upside-down
Especially when filming ski and snowboard follow cams, and using a pole mount. Try to film with the camera flipped upside-down. When right-side-up, you are trying to balance the camera on the end of the pole, while fighting gravity. Let the camera spin 180 degrees so it is hanging upside down on the end of the pole. Working with gravity allows the camera to be more stable, eliminates the balancing act, and gets a much smoother shot. Using this little trick can improve the overall quality of your end product.
Check out our full series of MTB Trail previews shot entirely on GoPro